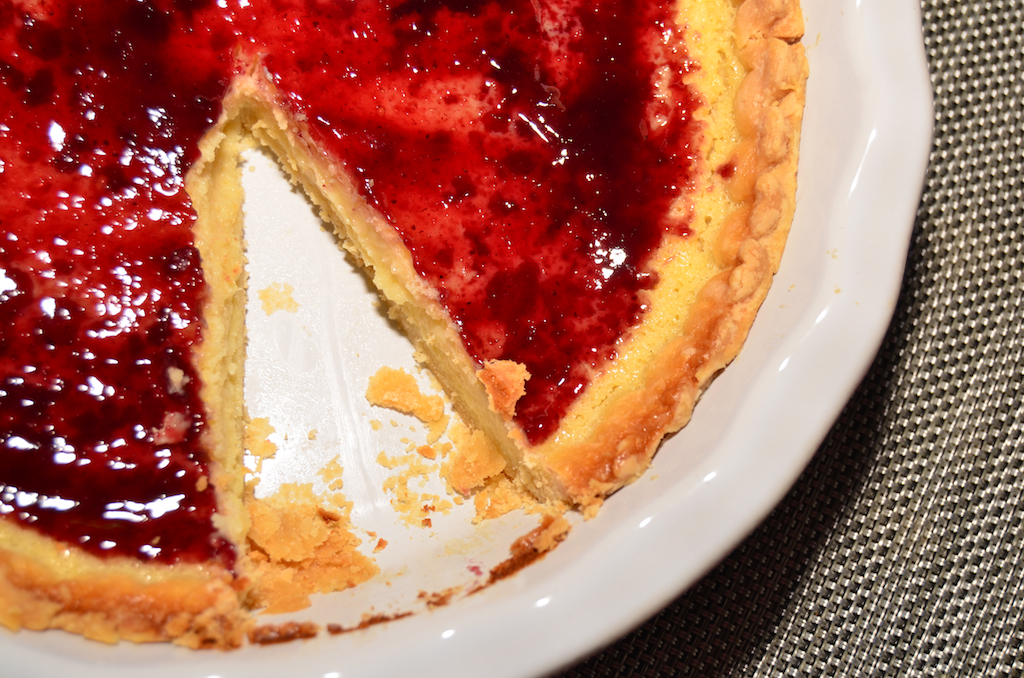
Buttermilk Pie with Blackberry Jam
Buttermilk pie is a classic Southern dessert. Its custard-like feeling is cool and creamy and perfect for Spring and Summer (think picnic).
This Buttermilk Pie with Blackberry Jam recipe is very versatile since it’s a breeze to make and you can really top with any jam you want.

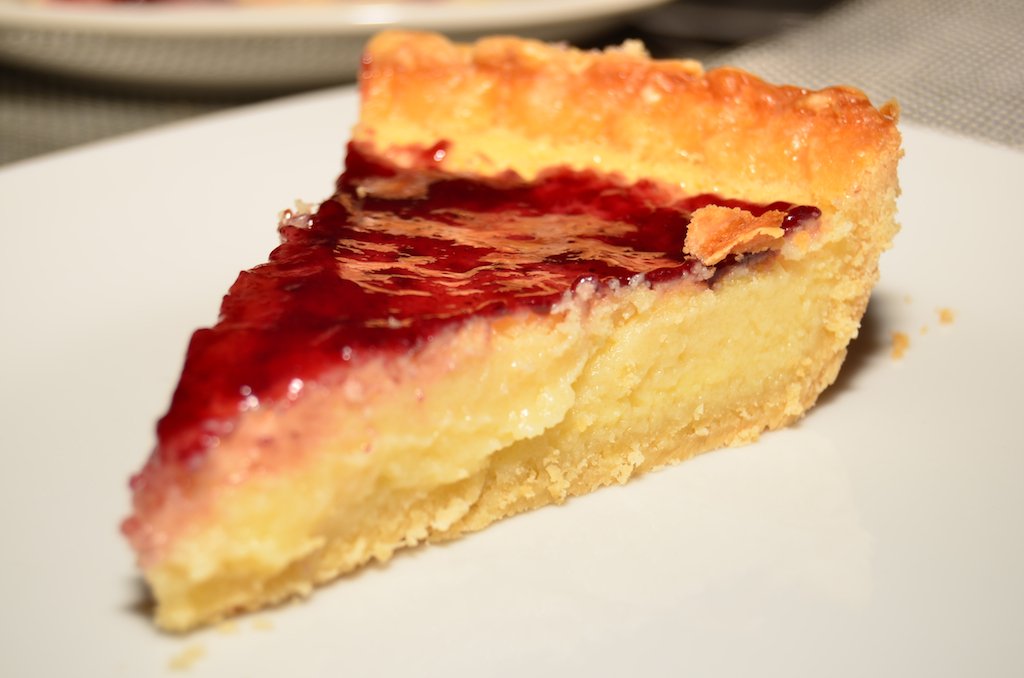
One slice may not be enough.
Ingredients:
- 1 TBSP flour
- 1 1/2 cups sugar
- 1 cup buttermilk
- 4 eggs
- 1 stick of unsalted butter, melted
- 1 TBSP grated lemon zest
- 1 unbaked 10-inch pie crust
- Pinch of salt
- 1/2 cup blackberry jam
Directions:
- Preheat the oven to 350F.
- In a large bowl, combine sugar, flour, salt and lemon zest.
- Whisk in the eggs, one at a time.
- Stir in the buttermilk and melted butter.
- Pour the buttermilk mixture into the pie shell and bake until the center sets (about 25-30 minutes).
- Let pie cool then spread jam all over top of pie.
- Slice and serve. Garnish with whipped cream (if desired).
Buttermilk Pie with Blackberry Jam is perfect when you want a dessert that’s not too sweet.
While this isn’t on my current diet (beach season is quickly approaching), I will totally admit that I indulged in a couple slices a few weeks ago. One just wasn’t enough.
Buttermilk Pie with Blackberry Jam is perfect to take on a picnic or as a dessert to a friend’s dinner party. I guarantee it will be a hit and you most likely won’t have any left over.


