
Jalapeño Popper Grilled Cheese Sandwiches
Is there a better comfort food than a great grilled cheese sandwich? Maybe. I think fried chicken and macaroni and cheese come pretty close. During a recent football party, I put together a grilled cheese menu and this one, the Jalapeño Popper Grilled Cheese Sandwich, was my favorite.

Assembling the Jalapeño Popper Grilled Cheese Sandwiches
This grilled cheese uses Cheddar, cream cheese, jalapeño strips (all the ingredients in a jalapeño popper) and bacon. Why hasn’t anyone thought to add bacon to jalapeño poppers? That’s a mystery. Anyway, this is super easy to make and quick.
Ingredients:
- 2 jalapeños, seeded and cut into strips
- 4 slices cooked bacon, crumbled
- 10-12 pieces of nice crusty bread, cut along the bias
- 4 TBSP cream cheese
- 4 TBSP salted butter, melted
- 1/2 pound sharp Cheddar cheese, sliced

Unsalted butter is a necessity when grilling sandwiches.
Directions:
- Preheat a panini press, griddle, grill or skillet.
- Spread cream cheese on one slice of bread.
- On another, place two slices of Cheddar cheese.
- Lay three or four jalapeño strips on the cream cheese side.
- Sprinkle bacon on top of cream cheese side.
- Place cheddar cheese side, cheese down on top of the cream cheese side.
- Brush melted butter on top of sandwich and place buttered side down on the panini press.
- Brush top side with melted butter.
- Shut panini press and grill four to five minutes or until Cheddar cheese is melted. Alternately, flip sandwich after two or three minutes if using a griddle, grill or skillet.
- Cut in half then serve.

Use a panini press to make the perfect grilled cheese sandwich.
You may think this Jalapeño Popper Grill Cheese Sandwich recipe is spicy, but to me, fresh jalapeños aren’t too spicy. Especially, when compared to pickled jalapeños. The peppers give the sandwich a nice crunch.
Be sure to pick a nice bread that won’t fall apart. I used a jalapeño-Cheddar bread from my local Whole Foods and it was perfect. Try this sandwich next time you need some good ‘ol fashioned comfort food.
Tags: Bacon, Cheddar Cheese, Comfort Food, Cream Cheese, Grilled Cheese, Jalapeno, Jalapeno Popper, Panini, Sandwich, Sandwich Recipe

Ginger Soy Chicken Meatballs with Chinese Broccoli
With temperatures finally beginning to cool down, dinner table dishes are about to start getting a lot heartier. This dish of Ginger Soy Chicken Meatballs with Chinese Broccoli is the perfect mix of hearty and healthy.
The broth is full of flavor, just like the meatballs and the Chinese broccoli. I like it spicy so feel free to edit the spices out of your preparation.

Chinese broccoli, aka Chinese kale, is a bitter green with thick stems.
- 1/2 piece of ginger, minced
- 1 garlic clove, minced
- 4 scallions, sliced and divided into light and dark
- 12 oz. Chinese broccoli, cut into 1-inch pieces
- 12 oz. ground chicken
- 1 TBSP chili oil
- 2 TBSP soy sauce
- 1/2 tsp crushed red pepper (optional)
- 1 cup coconut milk
- 1 cup reduced sodium chicken broth
- Salt and pepper to taste
Directions:
- In a large bowl, combine ginger, garlic, light scallion slices, chicken and soy sauce. Season with salt and pepper.
- Mix ingredients by hand until well combined, then form into roughly 10 one-inch balls. (Side note: Make sure you wash your hands after this step — we all know how nasty raw chicken is.)
- Heat the chili oil in a large pan over medium heat. When oil is shimmering, add the meatballs and cook until they’re browned on all sides (roughly 8-10 minutes).
- Transfer meatballs to a plate.
- Add Chinese broccoli to pan along with crushed red pepper. Saute broccoli four minutes over medium heat until it’s bright green.
- Add chicken stock and coconut milk to pan and stir to combine, scraping up brown bits from bottom of pan.
- Add meatballs, increase heat to high, and bring to a boil.
- Reduce heat to medium low and simmer everything for 5-8 minutes.
- Taste broth and add salt and pepper, if needed.
- Divide broth, meatballs and Chinese broccoli between two bowls. Garnish with dark scallions and serve.

Simmering all the ingredients.
The meatballs will hit you with a nice bit of ginger and soy and the broth should hit you with a nice heat from the chili oil.
Plus, the Chinese broccoli adds a nice crunch to the dish so you’ve just about got it all in one dish.
This recipe was adapted from Plated.com.
Tags: Chicken, Chinese Broccoli, Fall Dish, Garlic, Ginger, Healthy Dish, Hearty Dish, Meatballs, Scallions, Soy, Winter Dish

Tuna and Spicy Mustard Penne Pasta
I would say I’ve been slacking with blogging, but I just honestly haven’t had the time. But I’m back on it…I promise.
Since I’m short on time, a lot of my meals have to be prepped and cooked in a hurry, including this Tuna and Spicy Mustard Penne Pasta. You can go from start to finish in 15 minutes without sacrificing flavor with this recipe.

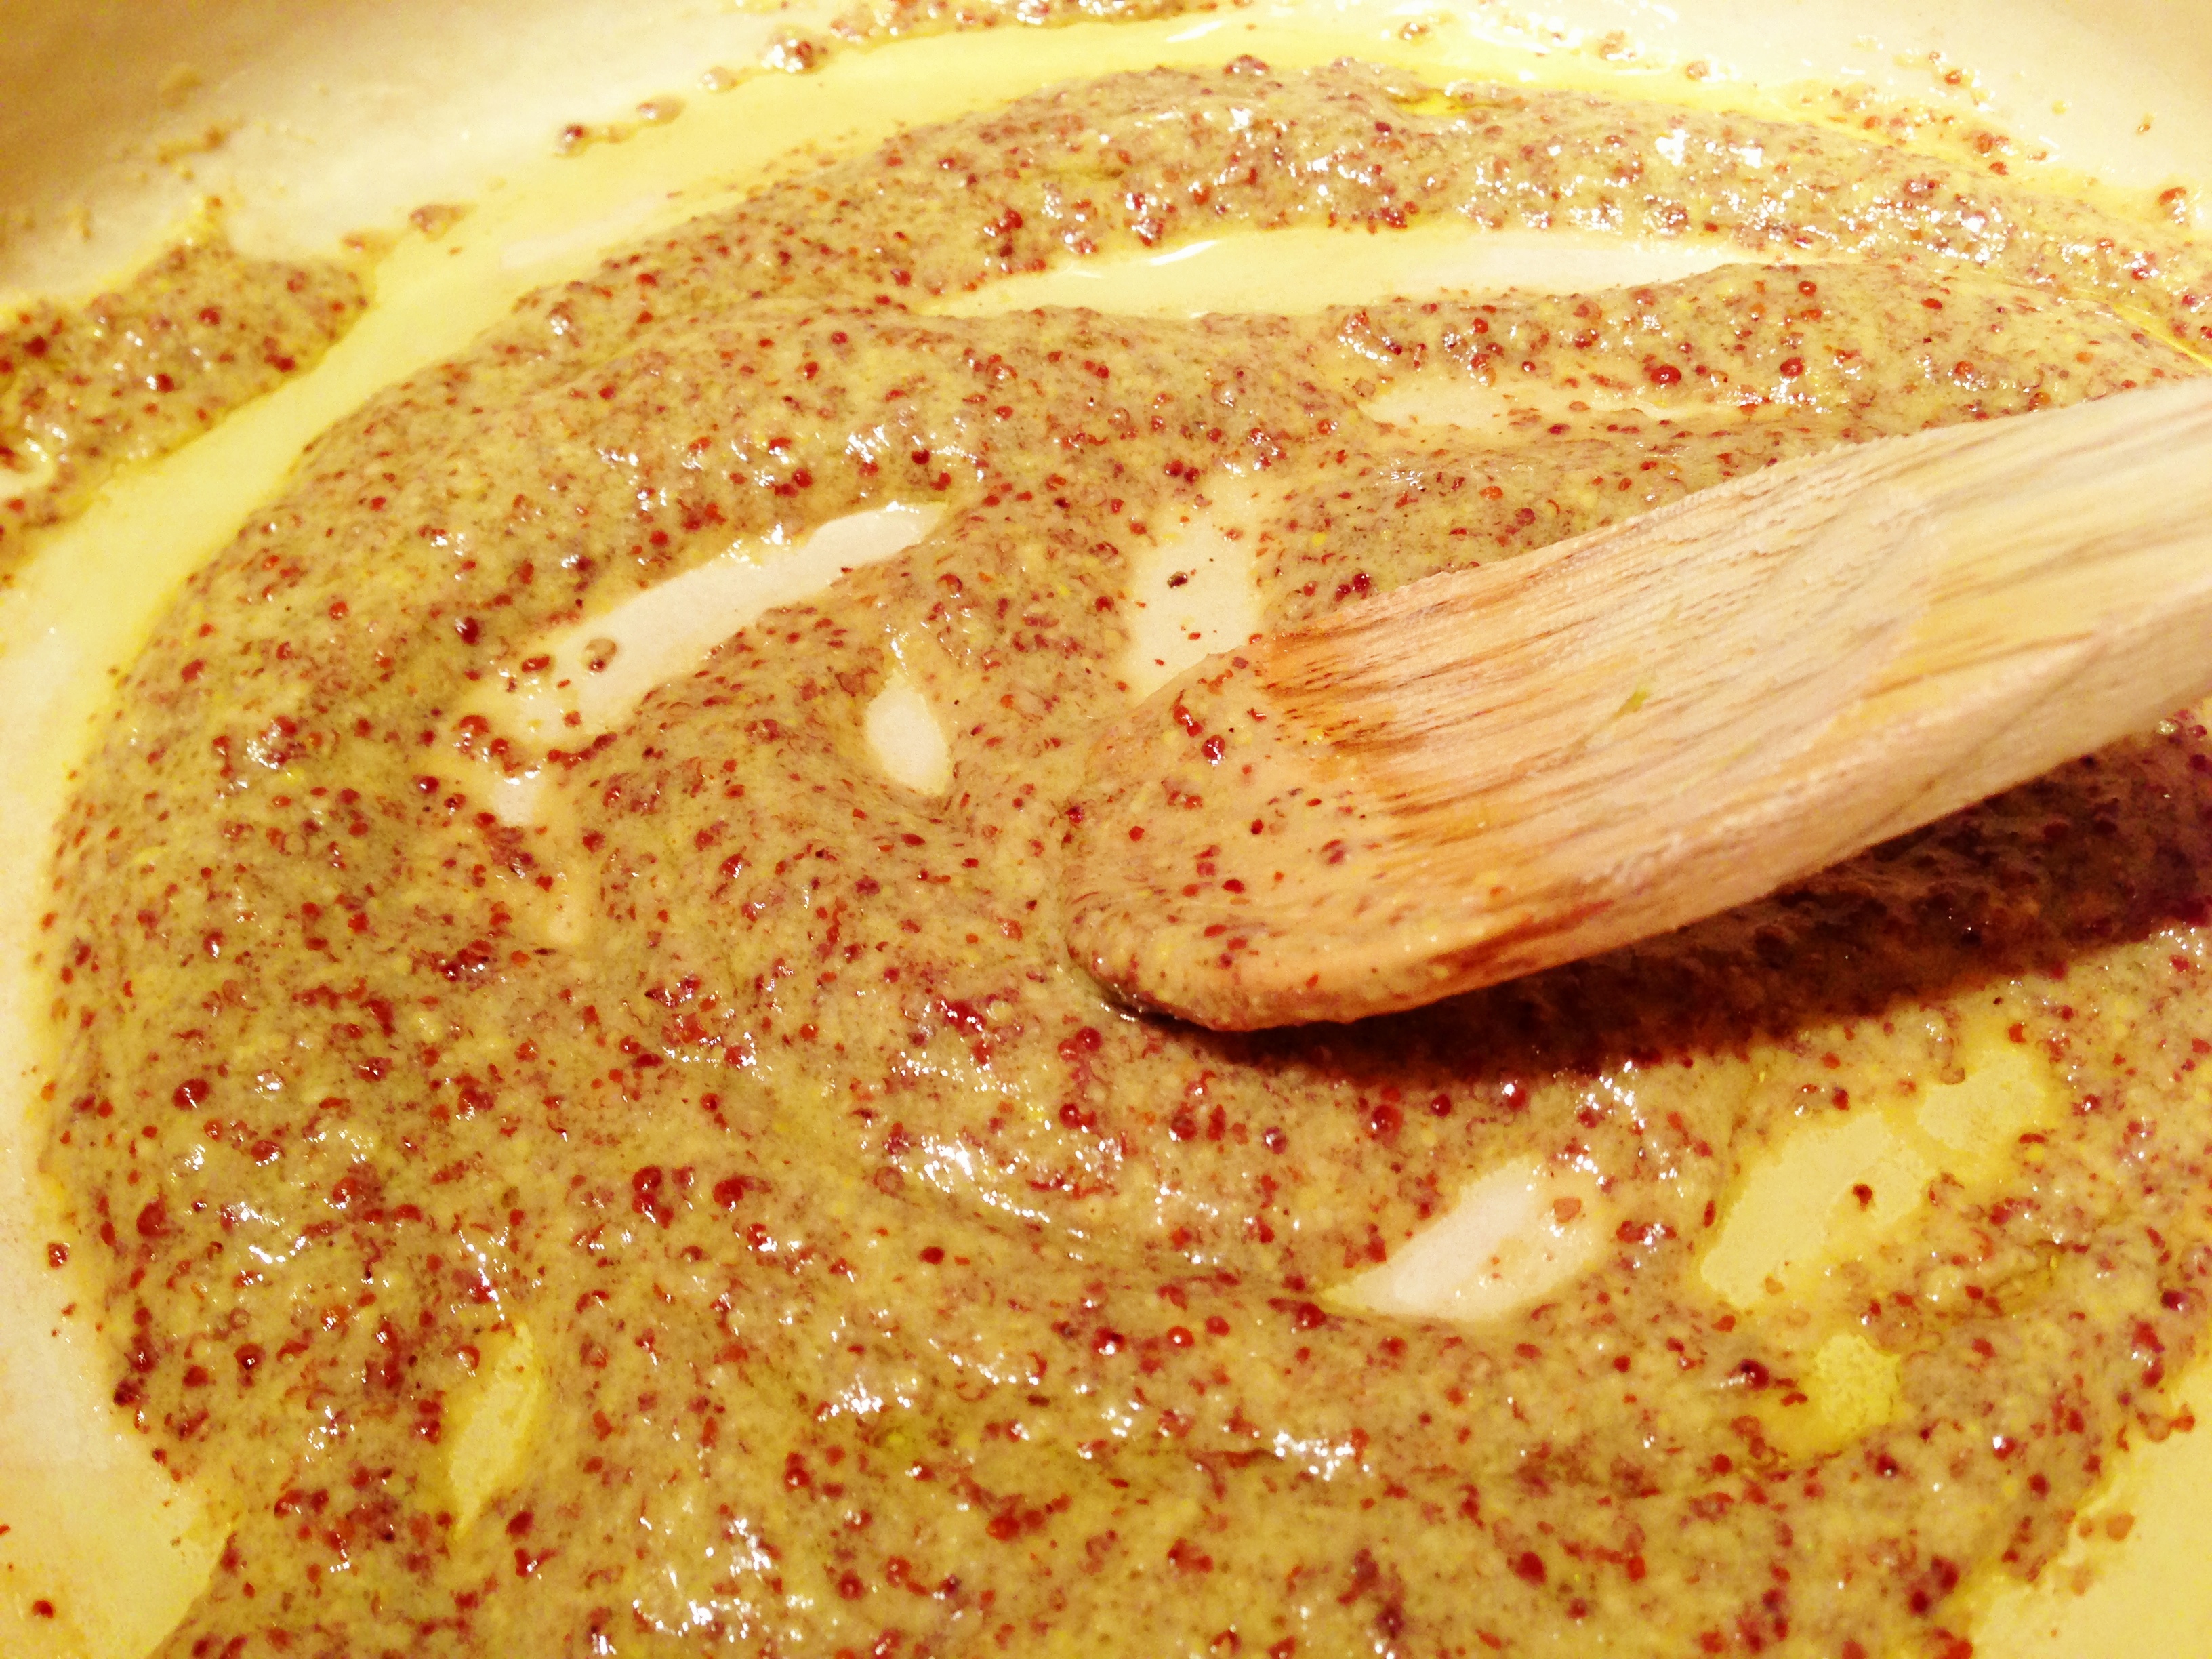
Use the Oil from the Can of Tuna and Some Whole Grain Mustard to Make this Sauce
Ingredients:
- 3/4 cup whole wheat penne pasta
- 2 5-ounce cans of tuna (in oil)
- 2 TBSP whole grain mustard (I always use Creole mustard)
- 2 TBSP chopped parsley
Directions:
-
- Bring a large pot of salted water to a boil.
- Cook the penne pasta until al dente, reserving one cup of pasta water before draining..
- Drain the tuna, reserving the oil in a small bowl.

Garnish Tuna and Spicy Mustard Penne Pasta with Fresh Parsley
- In a separate bowl, break up the tuna pieces and set aside.
- In a large skillet, heat the reserved oil with the mustard over low heat.
- Add the drained pasta and tuna to the skillet and toss to combine.
- Add the pasta water as necessary to create a sauce that clings to the pasta noodles.
- Toss in the chopped parsley, mix to combine and serve.
In a way, this is a sort of quick tuna casserole, just without all the baking and extra calories that come with it.
If you’re still sticking strong to your New Year’s resolutions, this recipe is also light on the waistline since it doesn’t involve cheese, cream or butter. Next time you’re in a hurry, give it a try and you’ll realize you can create bold flavors in a short amount of time.
Tags: Creole Mustard, Mustard, Parsley, Pasta, Pasta Recipe, Penne Pasta, Quick Recipe, Recipe, Tuna, Tuna Fish

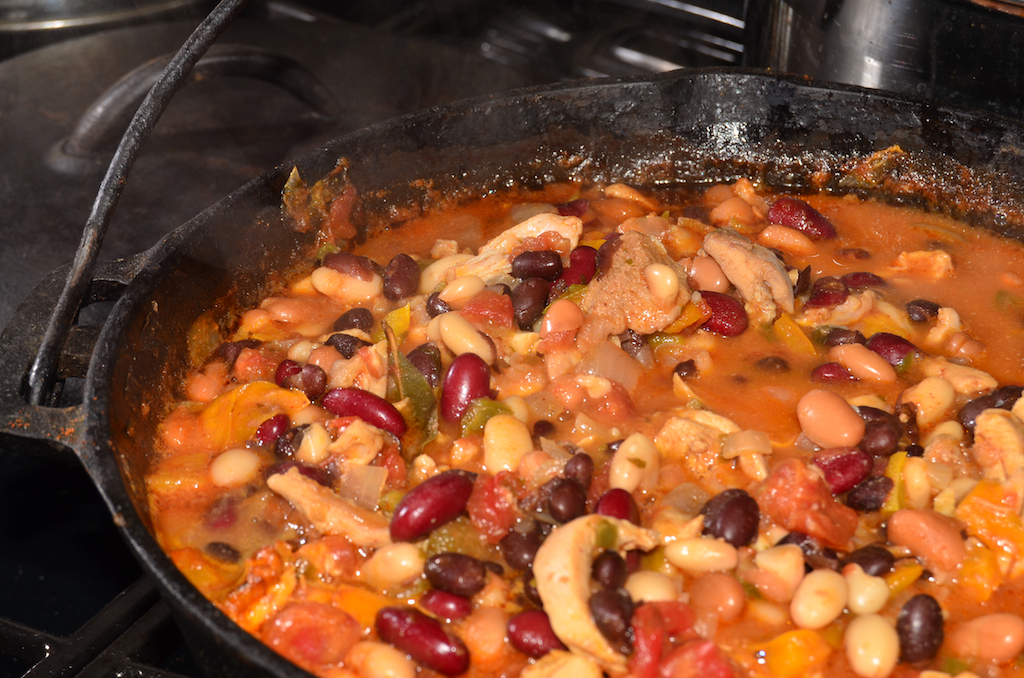
Spicy Chicken Chili
Cold temps may be on the way out (fingers crossed), but there’s still time to make chili. Using chicken thighs, I made this Spicy Chicken Chili.
This is a very simple dish to make that’s full of healthy ingredients. I used dark meat, but if you want it even healthier, you can use white mean. But I actually prefer dark meat for the flavor in slow-cooked dishes.
Ingredients:
Directions:
- In a large pot or saucepan, heat the oil over medium-low heat. Add the onion and garlic and cook for 3 minutes, or until they soften.
- Increase the heat to medium and add the chicken. Cook about two minutes until the strips are no longer pink.
- Stir in the salt, white pepper, chili powder and cumin.
- Add the jalapeños and the tomatoes with their juice.
- Bring to a boil, reduce the heat, cover and simmer for 15 minutes.
- Uncover and stir in the beans and black pepper. Simmer until the chili has thickened (about 15 minutes longer).
- Spoon chili into bowls and garnish with cilantro, sour cream and shredded cheese (if desired)
If the chili seems to spicy for you, remove a tablespoon of chili powder and take out a jalapeño or two. Also, if your chili is a little too thick, cut it with some chicken broth (or water if you don’t have chicken broth).
I served my Spicy Chicken Chili with Jalapeño and Cheddar Cornbread (cornbread I don’t share the recipe for). You can also sub in different kind of beans as you see fit. Chili is a really versatile dish so use your culinary imagination.
Tags: Chicken, Chicken Thighs, Chili, Cumin, Jalapeno, One Pot Meal, Spicy

Sour Orange Pulled Pork
With the election out of the way, forget about going red or blue and go orange with this recipe for Sour Orange Pulled Pork. The country may be divided on candidates, but (barring religious regions) we can all agree on the deliciousness that is pulled pork.
The sourness of the Sour Orange Pulled Pork goes great over a bed of mashed sweet potatoes. It’s a sour, sweet, salty, fatty combo that’s a great treat.
Ingredients:
- 1/2 cup olive oil
- 12 garlic cloves, mashed into a paste
- 1 4-lb. bone-in pork shoulder
- 4 cups chicken stock
- 3 cups orange juice
- 1 cup lime juice
- 1/4 cup plus 1 TBSP honey
- 3 large sweet potatoes
- 3 TBSP butter
- 1 small red onion, diced
- Salt and pepper, to taste
- Fresh cilantro, for garnish
Directions:

Sour Orange Pulled Pork is slow cooked in a mixture of orange and lime juice.
- Whisk together 1/2 cup olive oil and garlic paste in a large roasting pan. Add the pork and turn to coat. Cover and marinate in the refrigerator for at least 8 hours and up to 24 hours. Remove from refrigerate 30 minutes before ready to cook.
- Preheat oven to 300F.
- Season the pork all over with salt and pepper. Add the chicken stock and cover.
- While pork is cooking, put the orange and lime juices and honey in a large saucepan over high heat. Bring to a boil and reduce to 2 cups (it will be a syrup consistency). Let cool to room temperature.
- Also while pork is cooking, cut sweet potatoes into 1-inch cubes and boil in a large pot for 15-20 minutes or until soft. Once cooked, mash sweet potatoes to desired consistency.
- Heat the butter in a large cast-iron skillet over medium heat. Add the onion and mased sweet potatoes and press into the skillet with spatula. Cook, scraping and turning as the bottom browns, until hot.
- Once pork has cooked, shred the pork using 2 forks or your hands.
- In a medium saucepan, toss the shredded pork with the sour orange honey glaze and reheat over medium heat.
- Serve the pork on top of prepared sweet potatoes (reheated if necessary). Garnish with cilantro leaves.
There are several components to Sour Orange Pulled Pork, but none of them are difficult. The hardest part will be leaving with the wonderful smell of slow-cooking pork in the oven. Exercise some patience!
You can also add some cilantro to the sweet potatoes while cooking if desired. And if you really want to go hog wild (couldn’t resist!) you also add some bacon. The more pork the merrier.
Tags: Cilantro, Lime, Orange, Pork, Pork Recipe, Pulled Pork, Recipe, Slow Cooker Recipe, Sweet Potatoes

Save cooking time by using a pressure cooker and finishing off the ribs in the broiler.
Put that Chinese take-out menu aside, I’ve got a spareribs recipe that’s easy to prep and easy to cook: Plum Sauce and Honey-Glazed Spareribs. These ribs are crispy and have a nice sweet heat to them.
For this recipe for Plum Sauce and Honey-Glazed Spareribs you will need a pressure cooker and a broiler. As an alternative, you can slow cook them in the oven at about 300F for 4-6 hours.

Dip and dunk these ribs into a plum sauce pan sauce.
Ingredients:
- 1 cup plum sauce
- 1/2 cup soy sauce (I used low sodium)
- 2 racks pork spareribs
- 4 TBSP fresh ginger (chopped)
- 1 TBSP molasses
- 6 garlic cloves (chopped)
- 1 cup honey
- 2 TBSP Sriracha
Directions:
- In a blender or food processor, combine the plum sauce, soy sauce, molasses, ginger, garlic and half of the honey. Puree until smooth.
- Add Sriracha and pulse to combine.

Plum Sauce and Honey-Glazed Spareribs
- Cut the spareribs into 3-rib sections and transfer to a pressure cooker. Add the plum sauce puree and let stand, turning often, for 45 minutes.
- Add 1/4 cup of water to the pressure cooker then cover and cook at high pressure for 20-30 minutes.
- Run cold water over the pressure cooker to release the pressure.
- Transfer the ribs to a foil-lined baking sheet, meaty side up.
- Boil the cooking juices until reduced to 2 cups. Transfer the plum sauce pan sauce to a bowl.
- Preheat the broiler and position a rack about 8 inches from the heat.
- Brush the ribs all over with the remaining honey and broil, turning once, until the ribs are glazed and crispy around the edges (about 5 to 10 minutes).
- Transfer the rib sections to a cutting board and slice into individual ribs. Serve with the plum sauce pan sauce.
I love pork ribs (well, any ribs really), but I especially enjoy the sweet heat and crispiness of these Plum Sauce and Honey-Glazed Ribs. They’re perfect for Fall and football season.
As I mentioned above, if you don’t have a pressure cooker, just marinate them and slow cook them in the oven for 4 to 6 hours at about 300F. Then, broil them off per the instructions.
Tags: Asian Recipe, Honey, Pork, Pork Recipe, Pork Ribs, Pressure Cooker, Pressure Cooker Recipe, Recipe, Ribs, Spareribs, Sriracha

Flank Steak with Chimichurri Sauce over Mushrooms and Red Pepper
If you’ve never had chimichurri, you’re missing out. It’s an Argentinian condiment, similar to pesto, that contains parsley, garlic, oregano, garlic and onion.
Chimichurri pairs very well with red meat so this recipe combines one of my favorite cuts of steak, the flank. While it’s no filet, flank steak is still a nice cut that’s very versatile. I decided to turn the flank steak I had into Flank Steak with Chimichurri Sauce.
For the chimichurri:
Ingredients:
Directions:
- Finely chop the parsley, fresh oregano, and garlic (or process in a food processor several pulses). Place in a small bowl.
- Stir in the olive oil, vinegar, salt, pepper, and red pepper flakes. Adjust seasonings to your preferences.
- Serve immediately or refrigerate. If chilled, return to room temperature before serving. Can keep for a day or two.
For the Flank Steak:
Ingredients:
- 1 to 2 lbs. flank steak
- 1 red bell pepper (julienned)
- 1/2 cup mushrooms (sliced)
- 1 TBSP olive oil
- 1 TBSP butter

Flank Steak with Chimichurri Sauce
- Preheat a charcoal or electric grill.
- Cook steak to desired temperature. I went with medium-rare.
- In a medium pan, saute the red pepper and mushrooms in butter and olive oil until cooked.
- Once steak and vegetables are cooked, make a bed of vegetables on a large serving platter then top with steak.
- Spread sauce over steak and serve.
This dish is great served cold or warm, it’s up to you. Feel free to add other vegetables to accompany the Flank Steak with Chimichurri Sauce.
Since I didn’t want to bother with going outside to grill, I used a George Foreman Grill and the steak still turned out perfectly (even it was missing some char).
Tags: Argentinian Food, Argentinian Recipe, Beef, Chimichurri, Flank Steak, Latin Food, Latin Recipe, Mushrooms, Parsley, Recipe, Red Pepper, Steak

Coconut Shrimp Curry
I’m pretty sure is the third curry recipe I’m posting, but the stuff is just so damn good. This one is a sort of a hybrid of coconut shrimp and Thai curry, hence the name Coconut Shrimp Curry.
Curry is so full of flavor, it’s quickly become one of my favorite dishes. And it’s not that hard to make — especially with the assistance of a food processor.

Coconut Shrimp Curry blends shrimp, vegetables, pineapple and toasted coconut in a Thai curry.
For the curry:
- 1 lb. peeled and deveined shrimp
- 2 cups fresh pineapple chunks
- 1/2 cup red bell pepper, diced
- 1/2 cup green bell pepper, diced
- 1/2 cup sugar snap peas
- 1/3 cup dry toasted coconut
Directions:
- Place all curry sauce ingredients in a food processor and process well. Alternatively, whisk the ingredients together and stir well to combine.
- Pour sauce into a deep pot and heat over medium-high heat until boiling, stirring occasionally.
- Once boiling, reduce heat to medium. Add the vegetables, pineapple and shrimp, stirring to mix. Simmer until shrimp look plump and turn pink.
- Remove from heat and cover to keep warm while you toast the coconut.

Toasted Coconut in Curry
- Place dry shredded coconut (sweetened or unsweetened) in a dry frying pan over medium-high heat. “Fry” the coconut, stirring continually until it turns golden-brown and is fragrant. Then turn off heat.
- Add half of the toasted coconut to the curry and stir to combine.
- Taste for salt and sweetness, adding more fish sauce if not salty enough, and more brown sugar if you want it sweeter. Also, you can also add chili sauce if you’d like it spicier.
- To serve, transfer curry into a serving bowl. Sprinkle the rest of the toasted coconut on top of each dish and serve (over rice if desired).
As I live in New Orleans, I’m lucky enough to have access to fresh Gulf shrimp. They really make this dish stand out from using frozen shrimp, but you gotta use what you have access to. I recommend fresh over frozen any day.
As this is a curry, it goes great over rice, but it’s good enough to eat it without. The choice is yours. Enjoy this Coconut Shrimp Curry!
Tags: Asian Food, Asian Recipe, Coconut, Coconut Milk, Coconut Shrimp, Curry, Curry Recipe, Louisiana Seafood, One Pot Meal, Pineapple, Recipe, Seafood, Seafood Recipe, Shrimp, Thai, Thai Curry, Thai Food, Thai Recipe
")
Silken Tofu with Kimchi
Looking for a vegetarian entree or appetizer that’s full of spice and loaded with nutrition? Look no further. This recipe for Silken Tofu with Kimchi is delicious and takes about 15 minutes to make.
Kimchi is a Korean dish that’s a spicy blend of spicy peppers, cabbage and other Asian vegetables. I used storebought kimchi I got from our local Asian market, but feel free to make your own. Here’s a recipe.
Ingredients:
Directions:
- Boil a pot of water and add tofu and simmer until the tofu is warmed through. This should take about 5 or 6 minutes.
- Drain the tofu.
- Divide the tofu evenly between 2 bowls (or 4 if making as an appetizer). Drizzle each portion with half of soy sauce and half of chili oil. Divide kimchi evenly atop both bowls of tofu.
- Garnish with green onions and sesame seeds, then serve.
")
Silken Tofu with Kimchi serves 2 to 4
I was surprised at just how much flavor is in this dish given the limited amount of ingredients and easiness to prepare it. The only problem is that I was left wanting more.
While this can be served as an entree or an appetizer, it’s probably better as an appetizer as the portions are small. I chose to eat mine as an entree as I had a tennis match to play an hour later so I wanted something light. This Silken Tofu with Kimchi definitely fit the bill.
Tags: Asian, Asian Food, Asian Recipe, Kimchi, Kimchi Recipe, Recipe, Silken Tofu, Soy Sauce, Tofu, Tofu Recipe, Vegan, Vegan Recipe, Vegetarian, Vegetarian Recipe

Turkey and Quinoa Meatloaf
This recipe for Turkey and Quinoa Meatloaf is a great alternative to a ground beef recipe. You’ll cut calories and add texture and health benefits of the ingredient exchange.
The quinoa in this meatloaf really adds a nice, but subtle, crunch. And you won’t miss the ground beef once you’ve traded it out for ground turkey.
Ingredients:
- 1/4 cup quinoa
- 1 package (at least 20 oz.) of ground turkey
- 1/2 cup water
- 1 red onion, diced
- 1 garlic clove, diced
- 1 TBSP hot sauce
- 1 tsp olive oil
- 1 TBSP ketchup
- 2 TBSP Worcestershire sauce
- 2 eggs
- 2 tsp Worcestershire sauce
- 2 TBSP light brown sugar
- 1 tsp water
- Salt and pepper to taste
")
Turkey and Quinoa Meatloaf is a healthy alternative to ground beef meatloaf.
- Preheat oven to 350F.
- Bring the quinoa and 1/2 cup of water to a boil in a saucepan over high heat. Reduce heat to medium-low, cover, and simmer until the quinoa is tender, about 15 to 20 minutes. Set aside to cool.
- Heat olive oil over medium heat in a large skillet. Stir in the onion; cook and stir until the onion turns translucent, about 5 minutes. Add the garlic and cook for an additional minute; remove from heat to cool.
- Stir the ground turkey, cooked quinoa, onions, ketchup, hot sauce, 2 tablespoons Worcestershire, eggs, salt, and pepper in a large bowl until well combined. The mixture will be very moist.
- Shape into a loaf in a loaf pan.
- Combine the brown sugar, 2 teaspoons Worcestershire, and 1 teaspoon water in a small bowl. Rub the mixture over the top of the meatloaf.
- Transfer squash to prepared baking sheet and roast, turning occasionally, for 20 minutes or until tender and lightly golden. Let cool slightly.
- Bake until no longer pink in the center, about 50 minutes. Use a meat thermometer to assure the meatloaf has cooked to an internal temperature of at least 160F. Let the meatloaf cool for 10 minutes before slicing and serving.
I’ll admit that this meatloaf doesn’t photograph well, but I can promise you it’s full of flavor. I served mine with some mashed new potatoes for a classic Americana pairing.
Feel free to play around with different spice blends if you want to give it an extra kick. Sometimes salt and pepper are all you need for seasoning, sometimes you want more. Either way, just about any spices will go well wit this Turkey and Quinoa Meatloaf.
Tags: Classic Recipe, Ground Turkey, Healthy Recipe, Meatloaf, Meatloaf Recipe, Quinoa, Turkey, Turkey Recipe


")
")
")

")
