Buttermilk Pie with Blackberry Jam
Buttermilk pie is a classic Southern dessert. Its custard-like feeling is cool and creamy and perfect for Spring and Summer (think picnic).
This Buttermilk Pie with Blackberry Jam recipe is very versatile since it’s a breeze to make and you can really top with any jam you want.

One slice may not be enough.
Ingredients:
- 1 TBSP flour
- 1 1/2 cups sugar
- 1 cup buttermilk
- 4 eggs
- 1 stick of unsalted butter, melted
- 1 TBSP grated lemon zest
- 1 unbaked 10-inch pie crust
- Pinch of salt
- 1/2 cup blackberry jam
Directions:
- Preheat the oven to 350F.
- In a large bowl, combine sugar, flour, salt and lemon zest.
- Whisk in the eggs, one at a time.
- Stir in the buttermilk and melted butter.
- Pour the buttermilk mixture into the pie shell and bake until the center sets (about 25-30 minutes).
- Let pie cool then spread jam all over top of pie.
- Slice and serve. Garnish with whipped cream (if desired).

Buttermilk Pie with Blackberry Jam is perfect when you want a dessert that’s not too sweet.
While this isn’t on my current diet (beach season is quickly approaching), I will totally admit that I indulged in a couple slices a few weeks ago. One just wasn’t enough.
Buttermilk Pie with Blackberry Jam is perfect to take on a picnic or as a dessert to a friend’s dinner party. I guarantee it will be a hit and you most likely won’t have any left over.
Tags: Blackberry, Buttermilk, Buttermilk Pie, Custard, Dessert, Dessert Recipe, Pie, Pie Recipe, Southern Dessert, Southern Dish, Southern Recipe, Summer Dessert, Vegetarian, Vegetarian Recipe

Jalapeño Popper Grilled Cheese Sandwiches
Is there a better comfort food than a great grilled cheese sandwich? Maybe. I think fried chicken and macaroni and cheese come pretty close. During a recent football party, I put together a grilled cheese menu and this one, the Jalapeño Popper Grilled Cheese Sandwich, was my favorite.

Assembling the Jalapeño Popper Grilled Cheese Sandwiches
This grilled cheese uses Cheddar, cream cheese, jalapeño strips (all the ingredients in a jalapeño popper) and bacon. Why hasn’t anyone thought to add bacon to jalapeño poppers? That’s a mystery. Anyway, this is super easy to make and quick.
Ingredients:
- 2 jalapeños, seeded and cut into strips
- 4 slices cooked bacon, crumbled
- 10-12 pieces of nice crusty bread, cut along the bias
- 4 TBSP cream cheese
- 4 TBSP salted butter, melted
- 1/2 pound sharp Cheddar cheese, sliced

Unsalted butter is a necessity when grilling sandwiches.
Directions:
- Preheat a panini press, griddle, grill or skillet.
- Spread cream cheese on one slice of bread.
- On another, place two slices of Cheddar cheese.
- Lay three or four jalapeño strips on the cream cheese side.
- Sprinkle bacon on top of cream cheese side.
- Place cheddar cheese side, cheese down on top of the cream cheese side.
- Brush melted butter on top of sandwich and place buttered side down on the panini press.
- Brush top side with melted butter.
- Shut panini press and grill four to five minutes or until Cheddar cheese is melted. Alternately, flip sandwich after two or three minutes if using a griddle, grill or skillet.
- Cut in half then serve.

Use a panini press to make the perfect grilled cheese sandwich.
You may think this Jalapeño Popper Grill Cheese Sandwich recipe is spicy, but to me, fresh jalapeños aren’t too spicy. Especially, when compared to pickled jalapeños. The peppers give the sandwich a nice crunch.
Be sure to pick a nice bread that won’t fall apart. I used a jalapeño-Cheddar bread from my local Whole Foods and it was perfect. Try this sandwich next time you need some good ‘ol fashioned comfort food.
Tags: Bacon, Cheddar Cheese, Comfort Food, Cream Cheese, Grilled Cheese, Jalapeno, Jalapeno Popper, Panini, Sandwich, Sandwich Recipe

Ginger Soy Chicken Meatballs with Chinese Broccoli
With temperatures finally beginning to cool down, dinner table dishes are about to start getting a lot heartier. This dish of Ginger Soy Chicken Meatballs with Chinese Broccoli is the perfect mix of hearty and healthy.
The broth is full of flavor, just like the meatballs and the Chinese broccoli. I like it spicy so feel free to edit the spices out of your preparation.

Chinese broccoli, aka Chinese kale, is a bitter green with thick stems.
- 1/2 piece of ginger, minced
- 1 garlic clove, minced
- 4 scallions, sliced and divided into light and dark
- 12 oz. Chinese broccoli, cut into 1-inch pieces
- 12 oz. ground chicken
- 1 TBSP chili oil
- 2 TBSP soy sauce
- 1/2 tsp crushed red pepper (optional)
- 1 cup coconut milk
- 1 cup reduced sodium chicken broth
- Salt and pepper to taste
Directions:
- In a large bowl, combine ginger, garlic, light scallion slices, chicken and soy sauce. Season with salt and pepper.
- Mix ingredients by hand until well combined, then form into roughly 10 one-inch balls. (Side note: Make sure you wash your hands after this step — we all know how nasty raw chicken is.)
- Heat the chili oil in a large pan over medium heat. When oil is shimmering, add the meatballs and cook until they’re browned on all sides (roughly 8-10 minutes).
- Transfer meatballs to a plate.
- Add Chinese broccoli to pan along with crushed red pepper. Saute broccoli four minutes over medium heat until it’s bright green.
- Add chicken stock and coconut milk to pan and stir to combine, scraping up brown bits from bottom of pan.
- Add meatballs, increase heat to high, and bring to a boil.
- Reduce heat to medium low and simmer everything for 5-8 minutes.
- Taste broth and add salt and pepper, if needed.
- Divide broth, meatballs and Chinese broccoli between two bowls. Garnish with dark scallions and serve.

Simmering all the ingredients.
The meatballs will hit you with a nice bit of ginger and soy and the broth should hit you with a nice heat from the chili oil.
Plus, the Chinese broccoli adds a nice crunch to the dish so you’ve just about got it all in one dish.
This recipe was adapted from Plated.com.
Tags: Chicken, Chinese Broccoli, Fall Dish, Garlic, Ginger, Healthy Dish, Hearty Dish, Meatballs, Scallions, Soy, Winter Dish

Tuna and Spicy Mustard Penne Pasta
I would say I’ve been slacking with blogging, but I just honestly haven’t had the time. But I’m back on it…I promise.
Since I’m short on time, a lot of my meals have to be prepped and cooked in a hurry, including this Tuna and Spicy Mustard Penne Pasta. You can go from start to finish in 15 minutes without sacrificing flavor with this recipe.

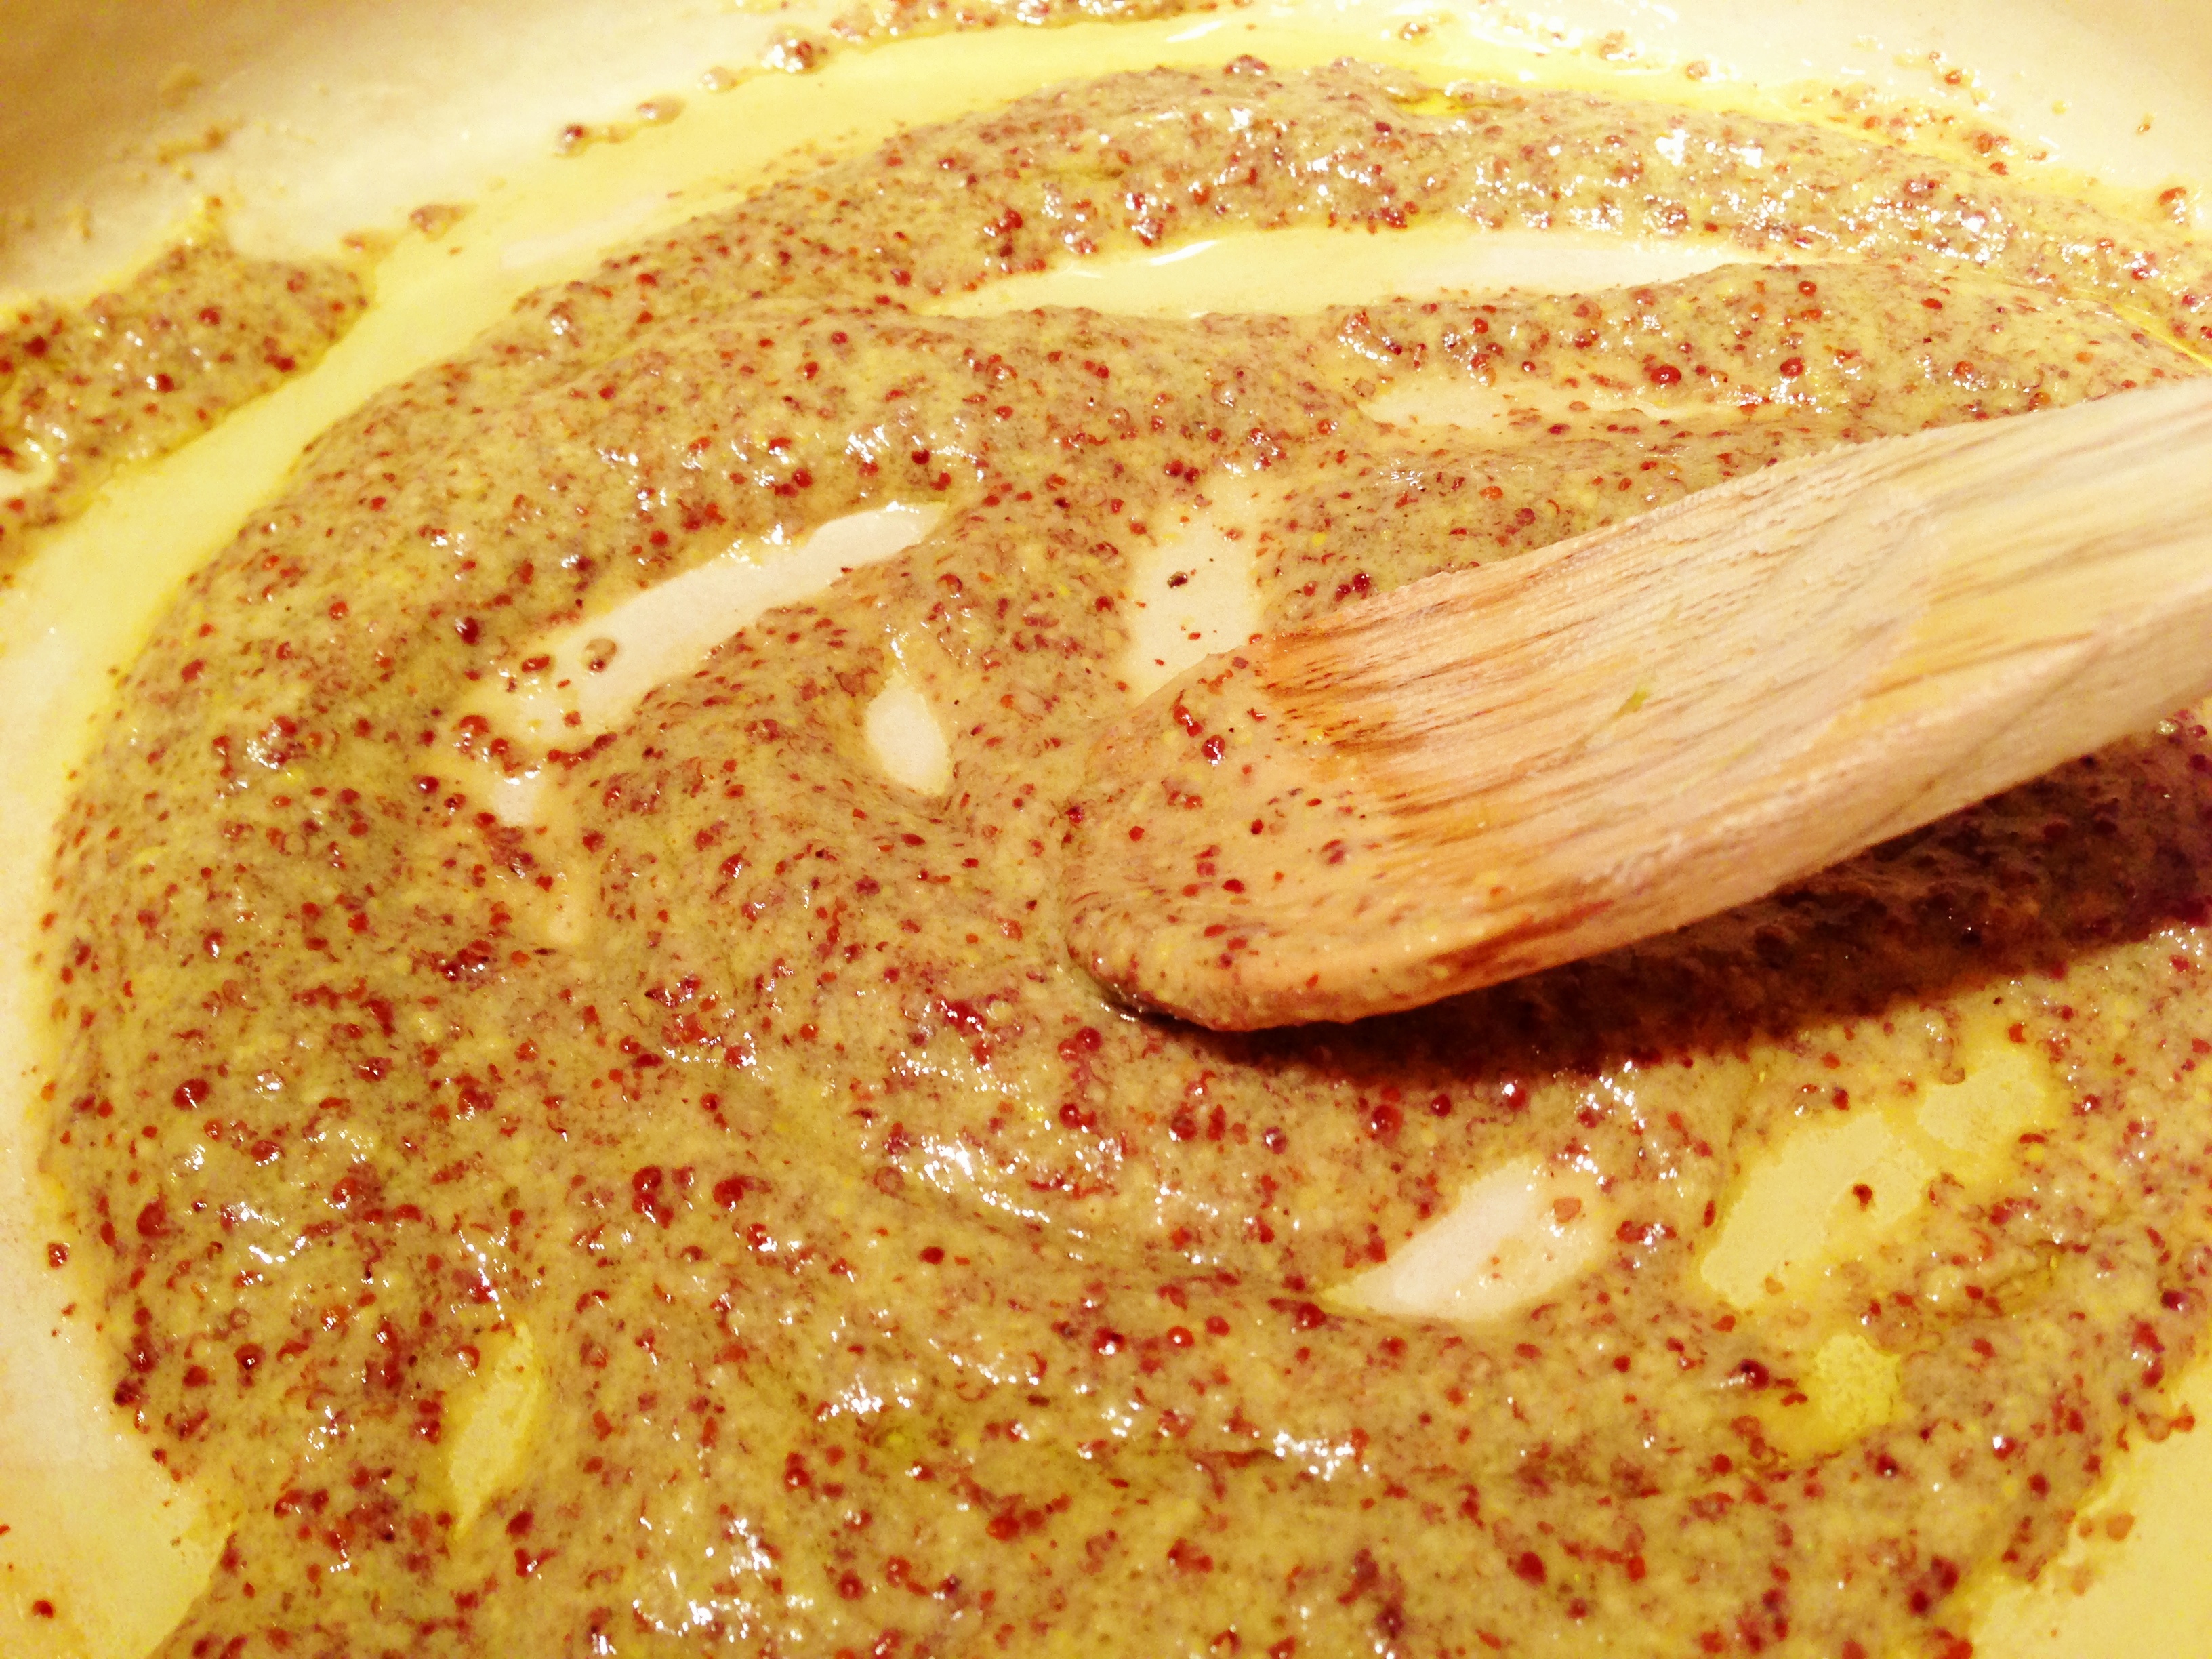
Use the Oil from the Can of Tuna and Some Whole Grain Mustard to Make this Sauce
Ingredients:
- 3/4 cup whole wheat penne pasta
- 2 5-ounce cans of tuna (in oil)
- 2 TBSP whole grain mustard (I always use Creole mustard)
- 2 TBSP chopped parsley
Directions:
-
- Bring a large pot of salted water to a boil.
- Cook the penne pasta until al dente, reserving one cup of pasta water before draining..
- Drain the tuna, reserving the oil in a small bowl.

Garnish Tuna and Spicy Mustard Penne Pasta with Fresh Parsley
- In a separate bowl, break up the tuna pieces and set aside.
- In a large skillet, heat the reserved oil with the mustard over low heat.
- Add the drained pasta and tuna to the skillet and toss to combine.
- Add the pasta water as necessary to create a sauce that clings to the pasta noodles.
- Toss in the chopped parsley, mix to combine and serve.
In a way, this is a sort of quick tuna casserole, just without all the baking and extra calories that come with it.
If you’re still sticking strong to your New Year’s resolutions, this recipe is also light on the waistline since it doesn’t involve cheese, cream or butter. Next time you’re in a hurry, give it a try and you’ll realize you can create bold flavors in a short amount of time.
Tags: Creole Mustard, Mustard, Parsley, Pasta, Pasta Recipe, Penne Pasta, Quick Recipe, Recipe, Tuna, Tuna Fish

Nutella Swirl Pound Cake
Love Nutella? Welcome to the club! Not a fan of Nutella? I’m not even sure what to say to you and this recipe isn’t for you.
If you are part of the club, you’ll love this recipe for Nutella Swirl Pound Cake. Talk about delicious, rich and decadent.
Ingredients:
- 1 1/2 cups all-purpose flour
- 2 sticks unsalted butter, softened
- 4 large eggs
- 1 1/2 TBSP cocoa powder
- 2 tsp vanilla extract
- 1 1/4 cup sugar
- 1/4 tsp salt
- 1 jar of Nutella (13 oz.)
- 1 tsp baking powder
Directions:
-
- Preheat the oven to 325°.
- Grease a 9×5-inch loaf pan.
- In a small bowl, whisk the eggs with vanilla extract.
- In a medium bowl, whisk the flour, cocoa powder, baking powder and salt.

Who doesn’t love Nutella?
- In a large bowl, beat the butter with the sugar until fluffy.
- Gradually beat in the egg mixture until full incorporated.
- In three batches, beat in the flour mixture until incorporated.
- Spread 1/3 of the batter into the loaf pan then spread half the Nutella on top. Repeat with another 1/3 of the batter and the remaining Nutella. Top with the remaining 1/3 of the batter.
- Lightly swirl the Nutella into the batter with a knife. Careful not to overmix.
- Bake the cake for approximately 1 hour and 15 minutes, until a toothpick inserted in the center comes out clean. Let the cool in the pan for 15 minutes.
- Invert the cake onto a wire rack or plate, turn it right side up and let cool completely, about 2 hours. Cut the cake into slices and serve.
Letting the Nutella Swirl Pound Cake cool for those two long, grueling hours while you salivate and smell the deliciousness is going to be the hardest part.
This is one of the best pound cakes I’ve ever had. I had two servings on the spot. You don’t need to garnish it with anything. It’s good enough to devour all on its own.
Tags: Baking, Chocolate, Dessert, Dessert Recipe, Hazelnut, Nutella, Pound Cake

Boudin Egg Rolls
One of my favorite things about cooking is the opportunity to fuse ethnic dishes. In this case, it’s the Chinese egg roll and Cajun boudin into Boudin Egg Rolls. I call it Casian cuisine. And man, are they good.
I used boudin straight from Lafayette, but the store-bought kind will probably work as well. In my opinion, the smokier you can find, the better.

Boudin + Egg Rolls = Deliciousness
Ingredients:
- 1 1/2 cup vegetable oil
- 1/2 cup chili oil
- 1 1/2 lb. boudin
- 10 egg roll wrappers
Directions:
-
- In a Dutch oven or other heavy-bottomed pot, heat oils to 350F over medium-high heat.

Serve Boudin Egg Rolls with Creole mustard and/or pepper jelly
- Remove the boudin from the casing.
- Finely chop up casing and add to boudin. NOTE: Adding the casings back in is optional.
- Place 2 TBSP boudin in center of each egg roll wrapper.
- Wrap from bottom up and then fold the sides in and top down.
- Fry until golden brown on all sides.
- Drain on paper towels.
- Serve with Creole mustard and/or pepper jelly as dipping sauce.
These Boudin Egg Rolls were surprisingly simple to make. There’s not much assembly required once you get the hang of rolling the egg rolls.
I will definitely be adding these Boudin Egg Rolls to my tailgating cuisine repertoire. They are perfect to grab, dip and go. They may just be one of my new favorite appetizers.
Tags: Boudin, Cajun, Cajun Recipes, Chinese, Egg Rolls, Louisiana Recipe, Recipe

Meyer Lemon Squares
With winter upon us, it’s time for citrus to take center stage as things like oranges, lemons and limes come into season. I was able to pick up some Meyer Lemons from Hollygrove Market and Farm in last weekend’s box.

Dust the Meyer Lemon Squares with powdered sugar before serving.
So what did I do with them? I turned them into delicious Meyer Lemon Squares.
Ingredients:
- Juice from 2 Meyer lemons
- 1 1/2 sticks unsalted butter
- 1 1/2 cups sugar
- 1 1/2 cups plus 1 TBSP plus 1 tsp flour
- 1/2 cup powdered sugar (plus more for dusting)
- 4 eggs
- 2 TBSP grated Meyer lemon peels
Directions:
-
- Preheat the oven to 350°.
- Combine 1 1/2 cups flour and 1/2 cup powdered sugar in large bowl.
- Add butter and cut in until mixture resembles coarse meal.
- Press crust into a 13x9x2-inch baking dish.
- Bake until golden brown (about 25-30 minutes).

These Meyer Lemon Squares are great for the holidays.
- Remove from oven, but leave oven on 350.
- Beat sugar, eggs, Meyer lemon juice, 1 TBSP plus 1 tsp flour and lemon peel in medium bowl to blend.
- Pour into crust then bake until mixture is set, about 20 minutes.
- Once set, remove from oven to let cool.
- Cut into 24 individual squares then sift powdered sugar over top before serving.
These Meyer Lemon Squares should bake to a nice, pillowy consistency. The great thing about using Meyer lemons is that they don’t end up too sour. You can use additional lemon peel in the mixture if you want them more sour.
Give these Meyer Lemon Squares a try at your next holiday function. They definitely deserve a place next to the pecan pie and the pumpkin pie.
Tags: Baking, Citrus, Dessert, Dessert Recipe, Holiday Recipe, Lemon Recipe, Lemons, Meyer Lemons

Curried Leg of Lamb Pot Pie
This recipe for Curried Leg of Lamb Potpie gets five stars in my book. It’s full of flavor and a very tender cut of lamb.
I went the non-traditional route and served this as my Thanksgiving meal this year instead of turkey. Give it a try this holiday season. I promise you won’t be disappointed.
Ingredients:
For the Pastry Dough:
- 3/4 cup all-purpose flour
- 3/4 cup whole wheat flour
- 1 tsp salt
- 1 stick chilled unsalted butter, cubed
- 1/4 cup ice-cold water
For the Potpie Filling:
- 3 TBSP olive oil
- 2 lbs. leg of lamb roast, cut into 1-inch cubes
- 1 white onion, diced
- 5 small turnips, diced
- 2 cups peeled butternut squash, cubed
- 2 cups Tuscan kale, chopped
- 1 cup crimini mushrooms, chopped
- 2 medium carrots, chopped
- 2 tsps curry powder
- 1 can unsweetened coconut milk
- 1/2 cup dry white wine
- 2 1/2 TBSP all-purpose flour
- 2 cups chicken stock
- 1 large egg (beaten with 1 tsp of water)
- Salt and pepper to taste
Directions:
For the Pastry Dough:
- In a food processor, pulse the flour and salt.
- Add the butter and pulse to the size of peas.
- Sprinkle in the ice water and pulse until a dough starts to come together.
- On a work surface, knead the dough a few times then shape into a disk. Wrap in plastic wrap and store in refrigerator for at least 90 minutes.
For the Potpie:
-
- Preheat oven to 375F.
- In a Dutch oven, heat 1 tablespoon of the oil.

Tender leg of lamb is combined with vegetables and coconut milk to make this delicious Curried Leg of Lamb Pot Pie.
- Season the lamb with salt and pepper and add half to the Dutch oven. Cook over high heat until browned on 2 sides, about 3 minutes. Using a slotted spoon, transfer the lamb to a bowl; repeat with 1 more tablespoon of oil and the remaining lamb.
- Add the first half of the lamb (in the bowl) back to the Dutch oven.
- Add the onion and cook over moderate heat, stirring, until softened. Add the curry powder and cook, stirring, for 1 minute.
- Stir in the flour, then gradually stir in the wine until smooth. Add the chicken stock and bring to a boil, stirring, until thickened, about 1 minute. Cover and simmer over low heat until the lamb is very tender, about 1 hour.
- Add the squash, kale, carrot, turnips, mushrooms and coconut milk to the casserole and simmer over moderately low heat until the vegetables are tender, about 10 minutes. Season with salt and pepper.
- Spoon the curry into a buttered 8-by-11-inch casserole or baking dish. Brush the dish rim with beaten egg.
- On a lightly floured surface, roll out the pastry to a rectangle or oval large enough to cover your dish. Fold the pastry in half, unfold it over the curry, and gently press onto the edge of the dish.
- Brush with beaten egg then cut 4 small steam vents in the top.
- Bake the potpie for 30 minutes. Raise the heat to 450°; bake for 20 minutes longer, until the pastry is browned and cooked through. Let rest for 20 minutes, then serve.
The lamb in this Curried Leg of Lamb Potpie cooks to a nice tenderness and goes well with the curry and root vegetables. It’s a perfect filling for potpie.
So, this holiday season, forget about chicken, beef and even turkey pot pie and do yourself a favor by trying lamb in your pot pie. It may be the best gift you give yourself this year.
Tags: Butternut Squash, Carrots, Coconut Milk, Curry, Dutch Oven, Hearty Meal, Kale, Lamb, Lamb Recipe, Leg of Lamb, Mushrooms, One Pot Meal, Potpie, Potpie Recipe, Recipe, Turnips, Winter Recipe

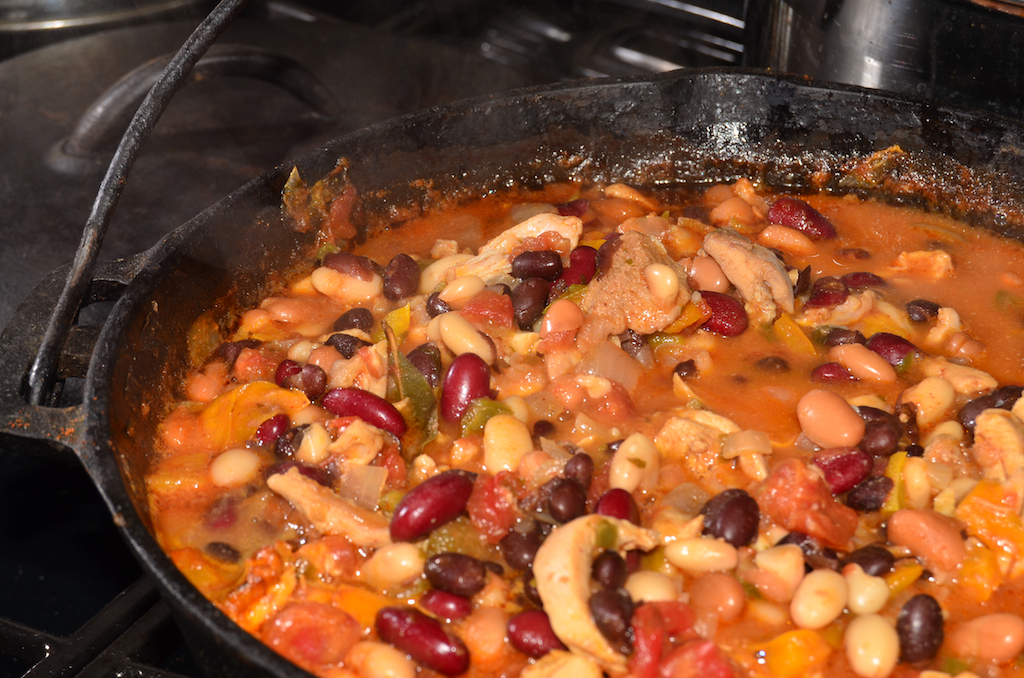
Spicy Chicken Chili
Cold temps may be on the way out (fingers crossed), but there’s still time to make chili. Using chicken thighs, I made this Spicy Chicken Chili.
This is a very simple dish to make that’s full of healthy ingredients. I used dark meat, but if you want it even healthier, you can use white mean. But I actually prefer dark meat for the flavor in slow-cooked dishes.
Ingredients:
Directions:
- In a large pot or saucepan, heat the oil over medium-low heat. Add the onion and garlic and cook for 3 minutes, or until they soften.
- Increase the heat to medium and add the chicken. Cook about two minutes until the strips are no longer pink.
- Stir in the salt, white pepper, chili powder and cumin.
- Add the jalapeños and the tomatoes with their juice.
- Bring to a boil, reduce the heat, cover and simmer for 15 minutes.
- Uncover and stir in the beans and black pepper. Simmer until the chili has thickened (about 15 minutes longer).
- Spoon chili into bowls and garnish with cilantro, sour cream and shredded cheese (if desired)
If the chili seems to spicy for you, remove a tablespoon of chili powder and take out a jalapeño or two. Also, if your chili is a little too thick, cut it with some chicken broth (or water if you don’t have chicken broth).
I served my Spicy Chicken Chili with Jalapeño and Cheddar Cornbread (cornbread I don’t share the recipe for). You can also sub in different kind of beans as you see fit. Chili is a really versatile dish so use your culinary imagination.
Tags: Chicken, Chicken Thighs, Chili, Cumin, Jalapeno, One Pot Meal, Spicy

Fried Brussels Sprouts with Pepper Jelly
Not a fan of Brussels sprouts? Then here’s the perfect gateway drug into liking these abhorred veggies. Trust me, they’re good and I’ve been able to turn Brussels sprouts haters into at least likers, if not lovers.
They have to be good, right? They’re fried. I would recommend serving Fried Brussels Sprouts with Pepper Jelly with a nice pork dish or chicken dish.

Fry the Brussels sprouts in sunflower oil until they are nice and crispy.
- 1/2 lb. of fresh Brussels sprouts, halved
- 3 TBSP pepper jelly
- 2 tsp paprika
- 1 TBSP salt
- 1 tsp white pepper
- 2 tsp black pepper
- 3 cups oil for frying (I used sunflower)
Directions:
- Rinse the halved Brussels sprouts in a colander. Dry with a paper towel, then toss with paprika, white pepper, black pepper and salt in a medium bowl.
- Heat oil in large pot or Dutch oven until temp reaches at least 400F (the temp will drop when you add the Brussels sprouts). NOTE: 425F is the smoke temp for sunflower so be sure not to exceed 425F. If using a different oil, be sure to check the smoke temp for your oil.
- Once oil is heated, set Brussels sprouts and 1/2 TBSP of pepper jelly in the oil. Flipping often to cook on all sides. You may have to work in batches.
- Using a slotted spoon, remove Brussels sprouts from oil and drain on a paper towel-lined plate.
- Once all Brussels sprouts have been fried, toss with remaining pepper jelly in a medium bowl then serve while still warm.
I highly recommend using sunflower oil for this recipe. It’s rich in polyunsaturated fat so not as unhealthy as other oils available.
Fried Brussels Sprouts with Pepper Jelly is a very simple recipe with minimal ingredients. The pepper jelly does a lot of the work when it comes to flavor since it’s sweet, acidic and spicy. Try this recipe on someone who claims not to like Brussels sprouts and turn them into a believer.
Tags: Brussels Sprouts, Fried, Pepper Jelly, Side Dish, Side Dishes, Sunflower Oil, Vegetarian, Vegetarian Recipe